If you’ve been on LinkedIn in the past two to five business years, you’ve definitely seen some nifty swipeable carousel posts.
It’s an open secret that LinkedIn carousels — uploaded documents on LinkedIn — are among the best ways to engage your LinkedIn audience.
With some eye-catching designs and clear value, these document posts are a brilliant way to stop the scroll and stand out from the other posts in your followers’ LinkedIn feed — something I can personally attest to.
I’ve been dabbling with LinkedIn carousels for several months as I build my personal brand on LinkedIn, and they’re some of my top-performing posts this year. It’s something we’ve seen with Buffer’s LinkedIn page, too.
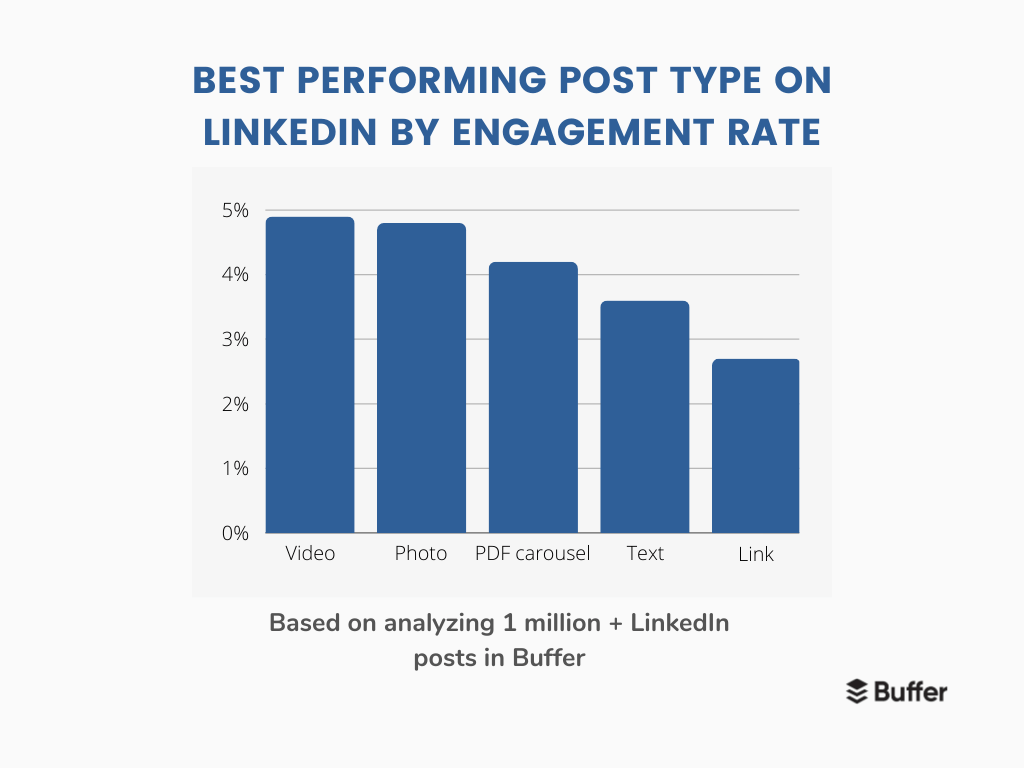
But you don’t have to take my word for it: we’ve got Buffer data to back this up. Analyzing over one million LinkedIn posts sent through Buffer in 2023 revealed that document carousels have the third-highest engagement rate on the platform.
Best performing post type on Linkedin by engagement rate
- Video posts — 4.9 percent
- Photo posts — 4.8 percent
- PDF carousel posts — 4.2 percent
- Text-only posts — 3.6 percent
- Link posts — 2.7 percent
In this article, I’ll walk you through the benefits of using LinkedIn documents, plus share a step-by-step guide to creating a carousel post on LinkedIn and schedule it for the best time to post on LinkedIn.
Different types of LinkedIn carousels
If you’re clued up on the goings-on at LinkedIn, you’re probably thinking: “Wait, haven’t carousel posts been discontinued?”
You’re not wrong — LinkedIn did pull functionality for photo carousels in December 2023 — but their document carousels are alive and well. The document carousel and photo carousels look similar when published, and most creators used the term “carousel” to describe both content formats, which is why things are a little confusing.
Technically speaking, there were three different kinds of carousels you could publish on LinkedIn:
- Document carousel posts (the post format we’re digging into in this article).
- Photo carousel posts (now discontinued).
- LinkedIn carousel ads (paid-for or sponsored posts, which you can read more about here).
Unlike photo carousels, document carousel posts are here to stay, and unlike LinkedIn carousel ads, you can publish them for free — and they’re what we’ll be exploring here.
Why you should be tapping into LinkedIn carousel posts
Carousel-style posts are top performers on most social media platforms, and LinkedIn is no different.
It makes sense that a well-crafted carousel document post will fly on LinkedIn. The LinkedIn algorithm likely registers a scroll or click to view the next slide in a carousel as engagement — the more engagement a post has, the more likely it is to be shown to more LinkedIn users.
And, with a good hook or headline on your first slide to draw your followers in, it will be irresistible for them to click that right arrow. More engagement = greater reach.
Some more benefits of leaning into LinkedIn carousels in your content marketing or personal brand building:
- Stand out in a text-heavy LinkedIn feed.
- Create content that is high-value but low-effort for your followers to engage with.
- Build brand awareness and recognition with the ability to use your brand fonts, colors, and style.
- Easily repurpose content — blog posts, videos, or even older LinkedIn text posts will do!
How to create a carousel post on LinkedIn
Creating a carousel post for LinkedIn is pretty straightforward. Here’s a tutorial for creating one from scratch, right through to publishing (scroll on to learn more about LinkedIn PDF scheduling).
1. Create your content
Beautiful designs are an important part of LinkedIn carousel posts — but I’d argue the actual content is even more so.
The eye-catching design of your carousel is what will draw your target audience in, but it’s high-quality content that will make them click over to your page and follow you, visit your landing page, sign up for your newsletter, fill out your lead-gen form or whatever your ultimate call-to-action (CTA) is.
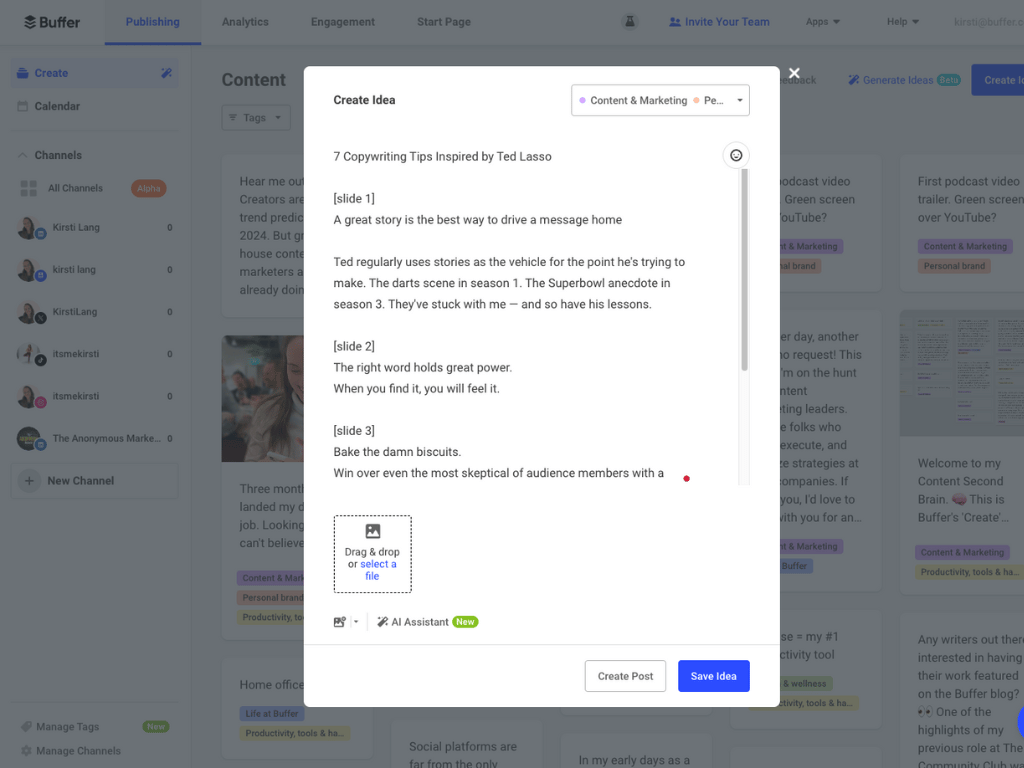
That’s why I always focus on the content before even thinking about design. A simple Google Doc or even the Notes app on your phone will work just fine for this, but I like to map out the exact copy or text I want to use on the carousel in Buffer’s Create space.
Some tips for your LinkedIn carousel content:
- Start with a great hook or headline: Draw your reader in with an enticing opening line or title for your carousel. Don’t overthink this — you can always come back to this once you’ve written up the rest of your pages.
- Keep it short and simple: Too much text on carousels can be overwhelming (and make it more likely your audience will scroll on past rather than engage).
- Remember that links won’t work: While links will work in a PDF document, your carousel won’t be clickable on LinkedIn.
2. Design your document
Once you’ve created your high-value content, it’s time for that scroll-stopping design I’ve been banging on about.
Not a designer? No problem. The beauty of the LinkedIn carousel is that even the most minimal designs will draw the eye because they stand out in the newsfeed by default.
Eddie Shleyner is an excellent example of a creator who keeps things simple, relying on simple black-and-white text in his highly engaging carousels.
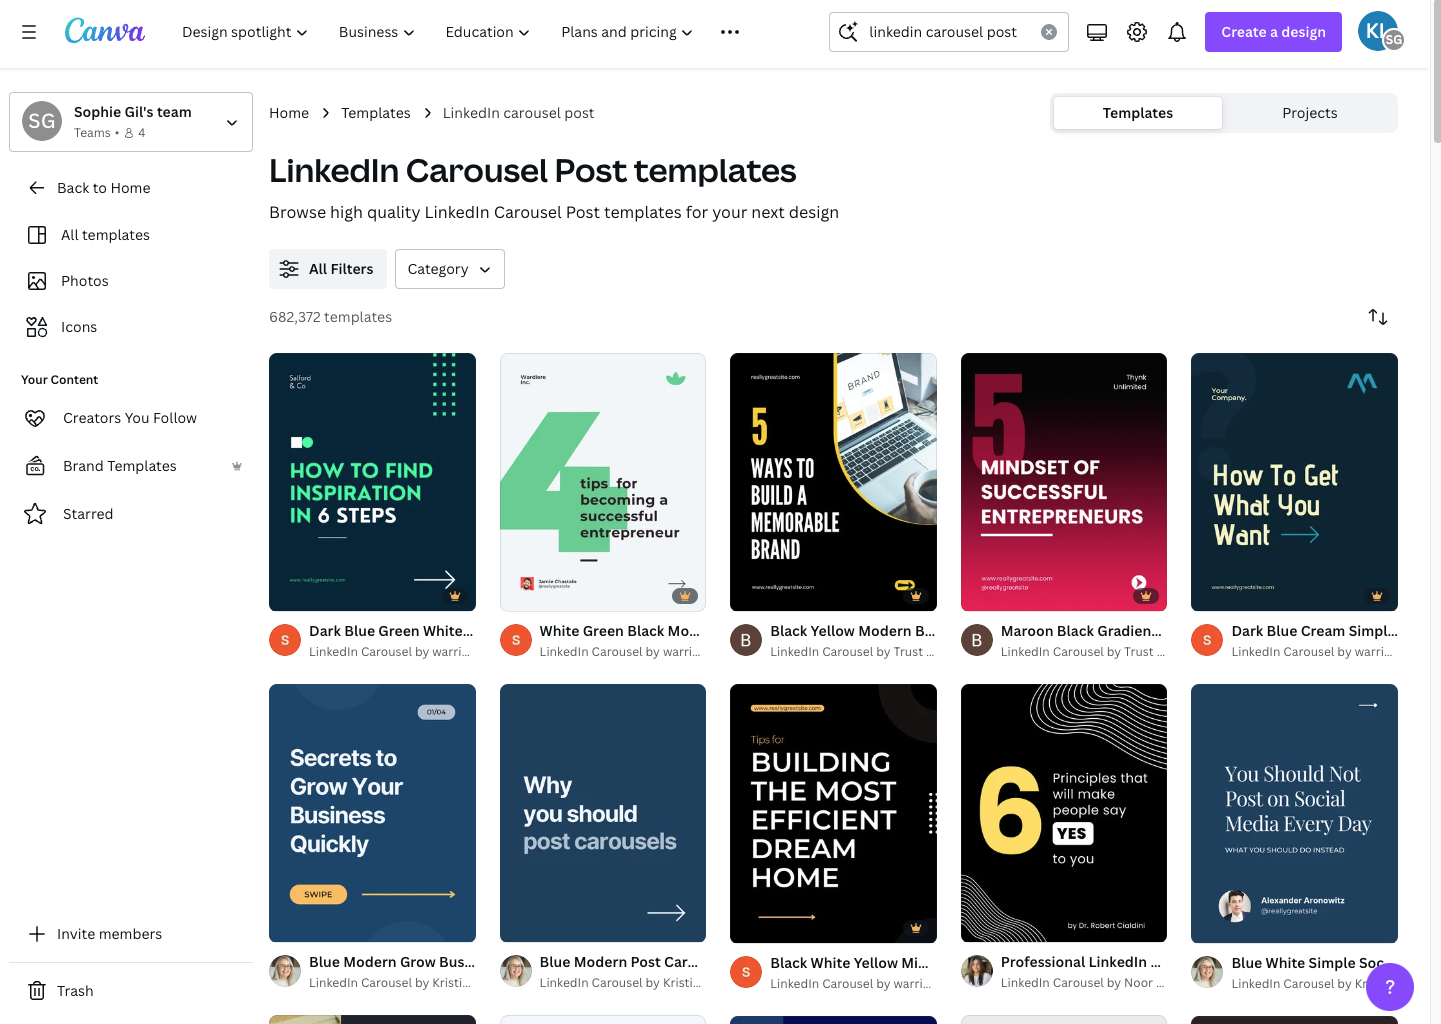
Another option (and my go-to) is to use a template for your document design. Canva has thousands of options specifically designed for LinkedIn posts, and Microsoft PowerPoint and Google Slides have several dozen themes you can tap into, too.
Don’t feel you must stick to text-only carousel cards — experiment with graphs, infographics, stock images, and memes. GIFs are great, too, but they will remain stationary when viewed on LinkedIn.
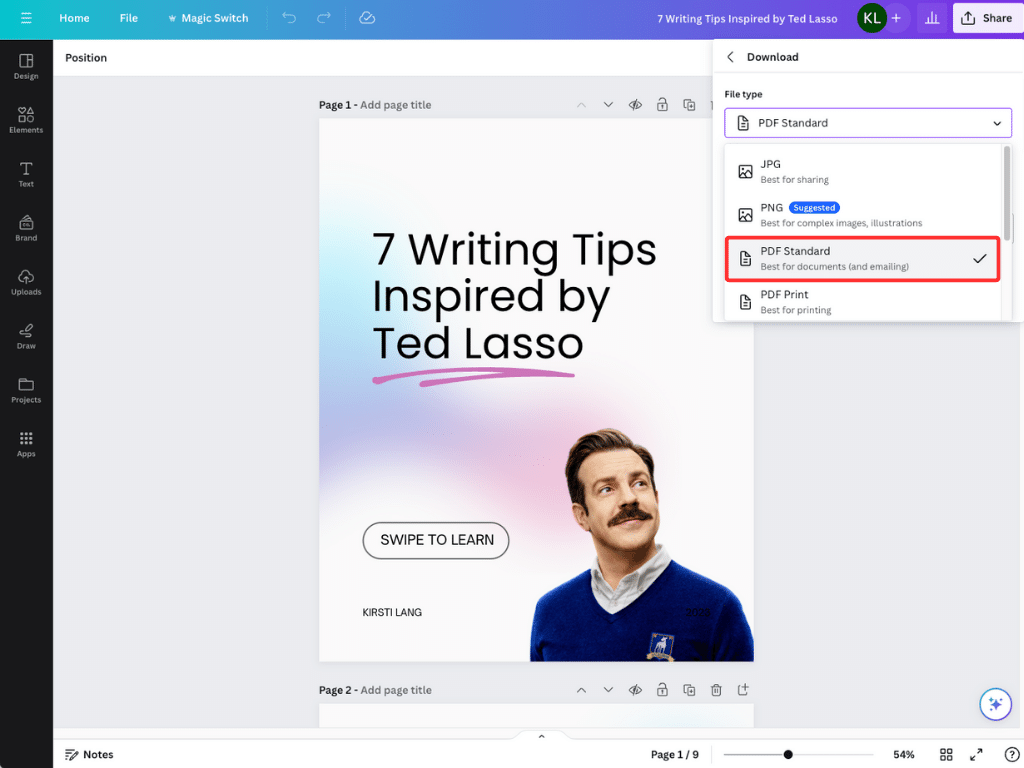
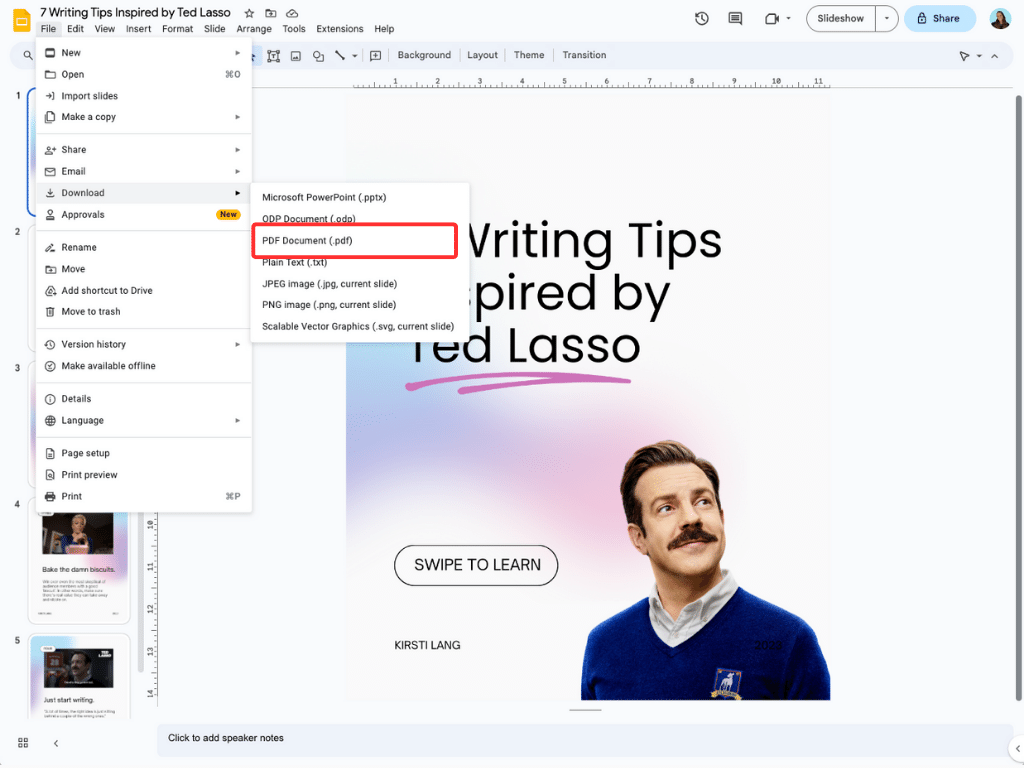
3. Save it as a PDF
LinkedIn carousel posts are uploaded documents, usually PDFS, not photos or images. In other words, any image file formats (like JPGs and PNGs) will not work in a carousel-style post.
Files types that work for these kinds of posts are:
- PDF files (.pdf)
- Microsoft Word or Google Docs documents (.doc and .docx)
- Powerpoint or Google Slides documents (.ppt and .pptx)
Whatever tool you use to create your document, save it as one of the file types above. If you plan to schedule the post with Buffer, be sure to save it as a PDF.
Linkedin carousel specs
Beyond making sure your document is a PDF or one of the other supported file types, you also need to ensure that your document is less than 300 pages (I’d recommend steering well clear of that!) and a file size no greater than 100MB.
Unlike with an image, you don’t need to worry about pixels for a LinkedIn document upload. However, a portrait or square aspect ratio will display best on the platform.
☝️ A note on accessibility: Avoid scanning hardcopy documents or converting photos to PDFs for your carousels. These will create image-based (rather than text-based) PDFs that screen readers can’t read.
4. Upload to LinkedIn
To share your post right away on the social media platform, log in and make sure you’re on the home page.
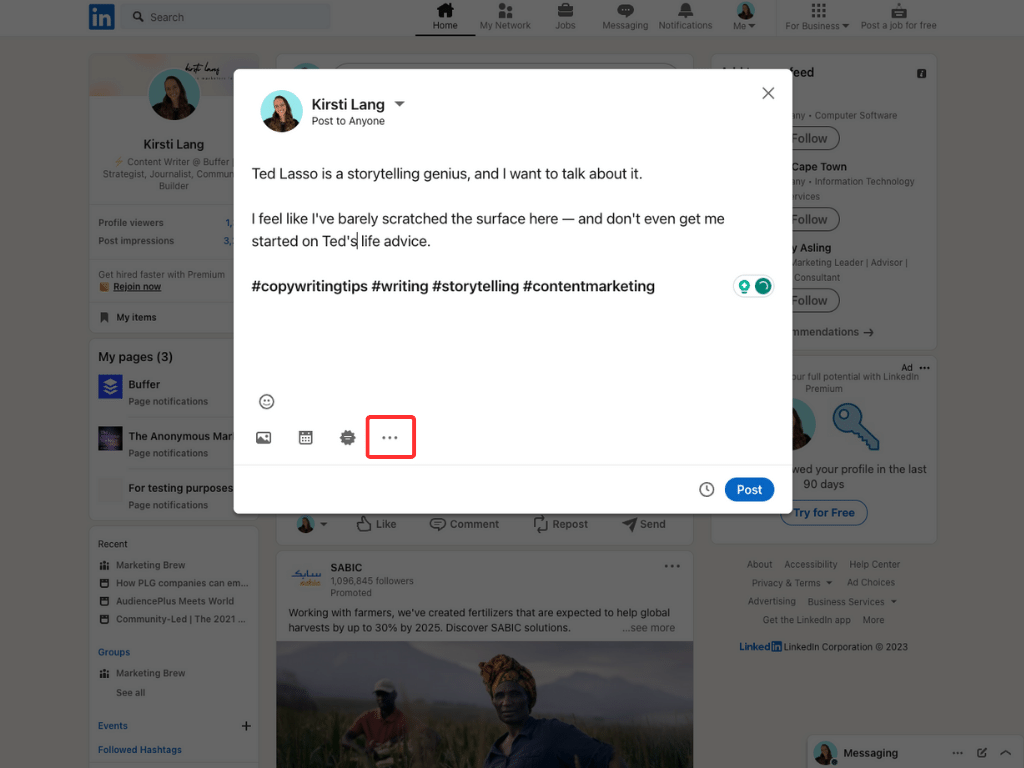
From there, click the Start your post box and enter a caption for your carousel.
Click on the three dots at the bottom of the pop-up window to open more upload options.
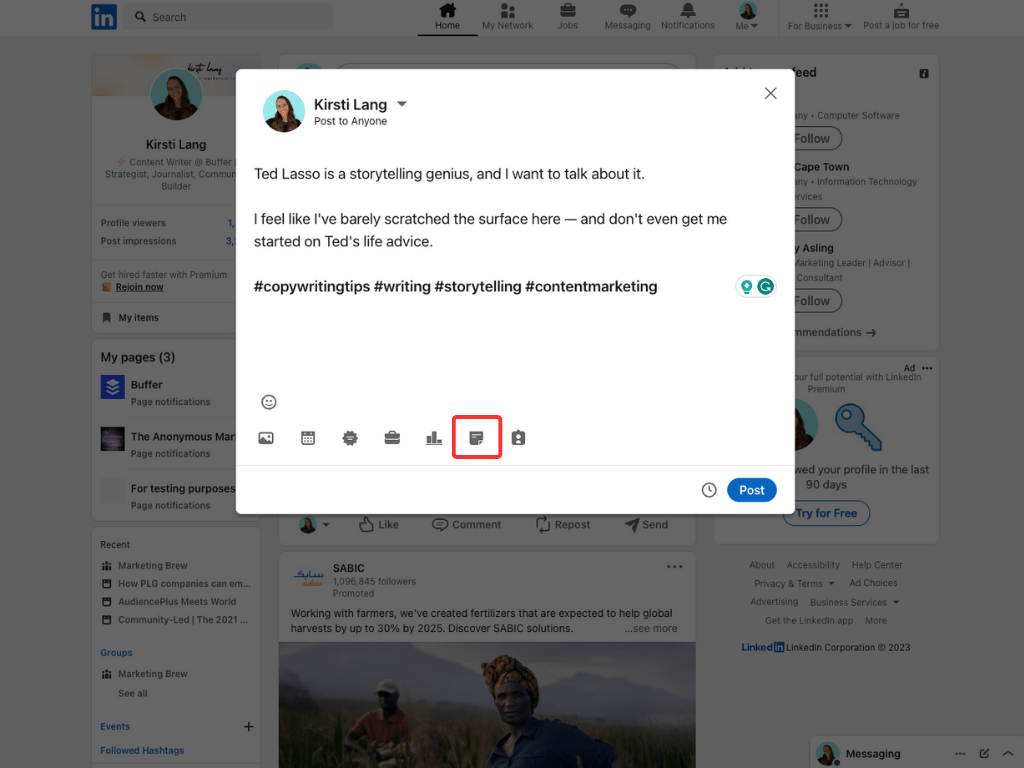
From there, click the Add a document button (the page icon).
Click Choose file and select your document to upload.
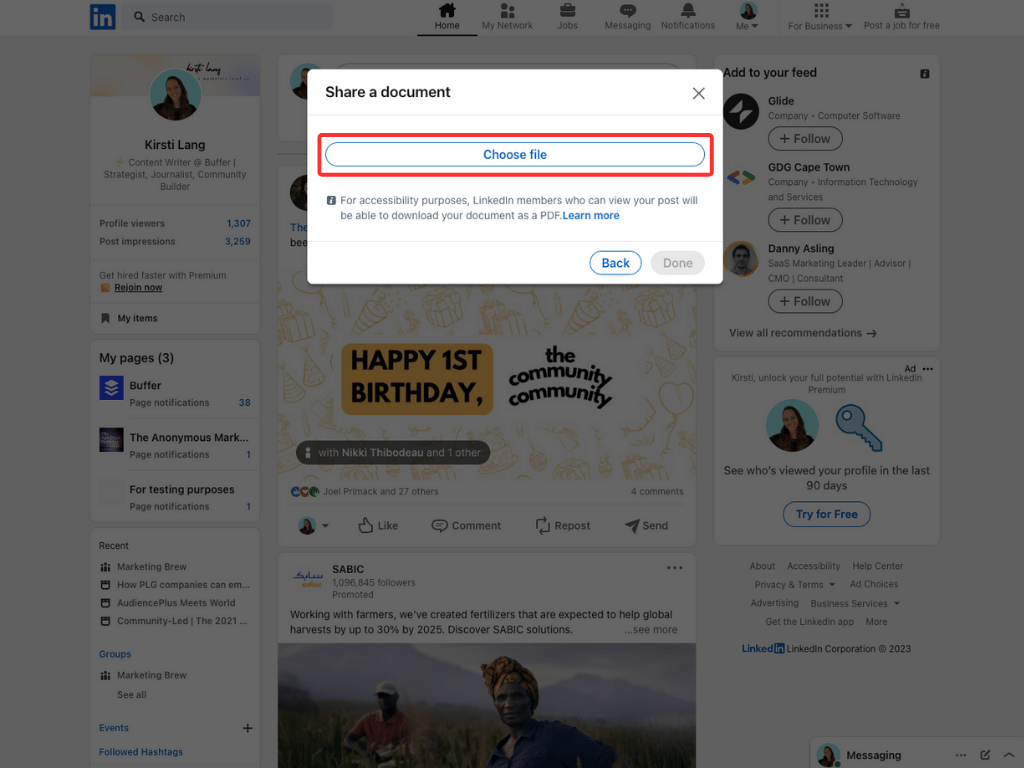
Enter a document title. LinkedIn recommends adding a title that is “clear, concise, and accurately describes the content” to “help your document get discovered more easily.” (This is likely a signal to the LinkedIn algorithm and search functionality.)
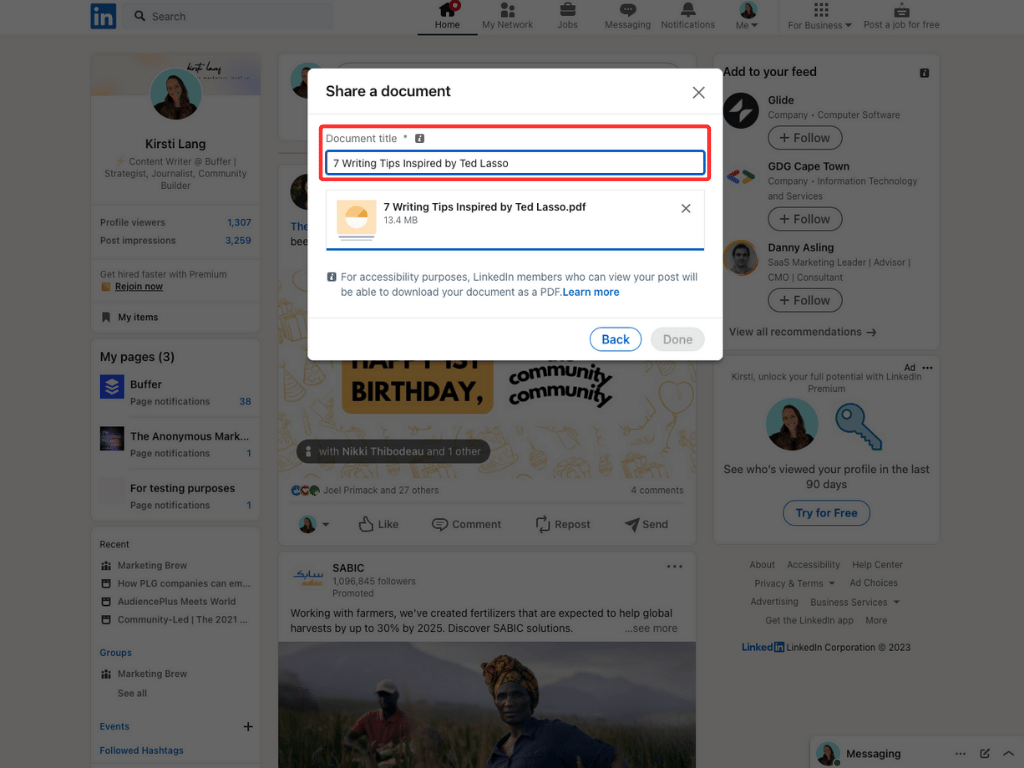
Click Done. You’ll be taken back to the Start a post window, where you can tweak your caption, add hashtags and @ mention other LinkedIn users.
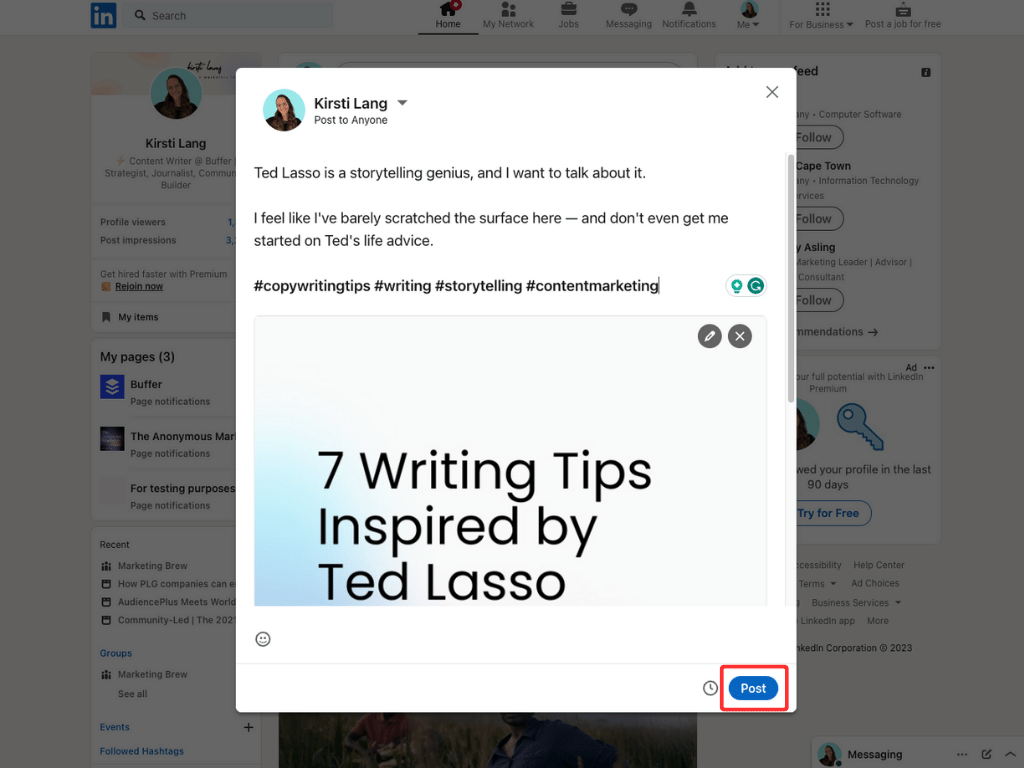
When you’re happy with your LinkedIn carousel, hit Post.
How to schedule a LinkedIn carousel
LinkedIn PDF scheduling is now available in Buffer! Getting your carousel scheduled is super straightforward, too.
Once again, make sure your document is a PDF file. Images won’t be published in the carousel style, and Buffer doesn’t support PowerPoint and Word files.
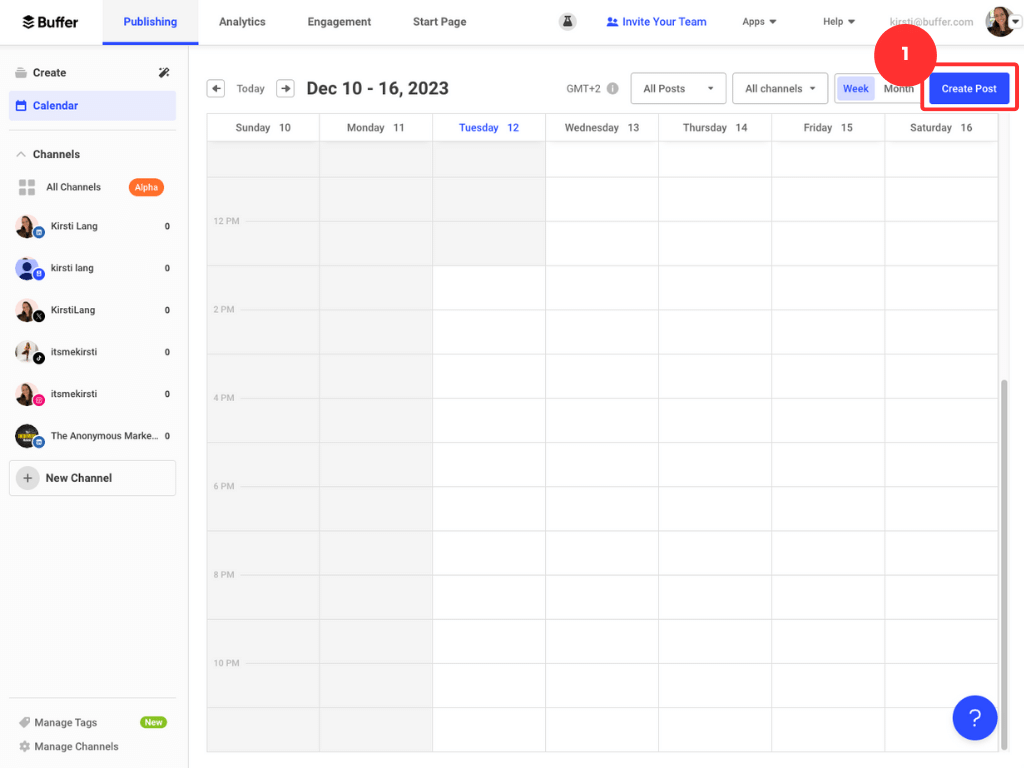
Once you’ve completed steps one to three above, log in to Buffer. There are several ways to create a new post in the platform:
- In the Publishing tab, click the Create Post button on the top right of the Calendar.
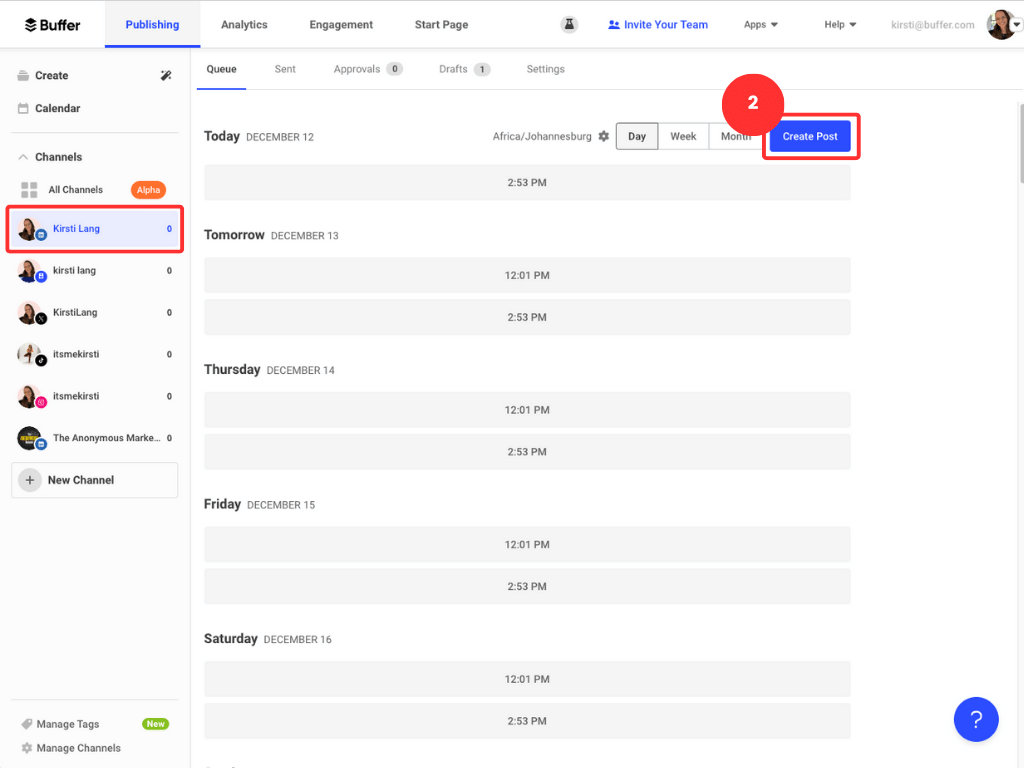
- Click on the LinkedIn profile or page you want to publish to in the Channels bar on the left, then click the Create Post button or choose the desired publish time in your Queue.
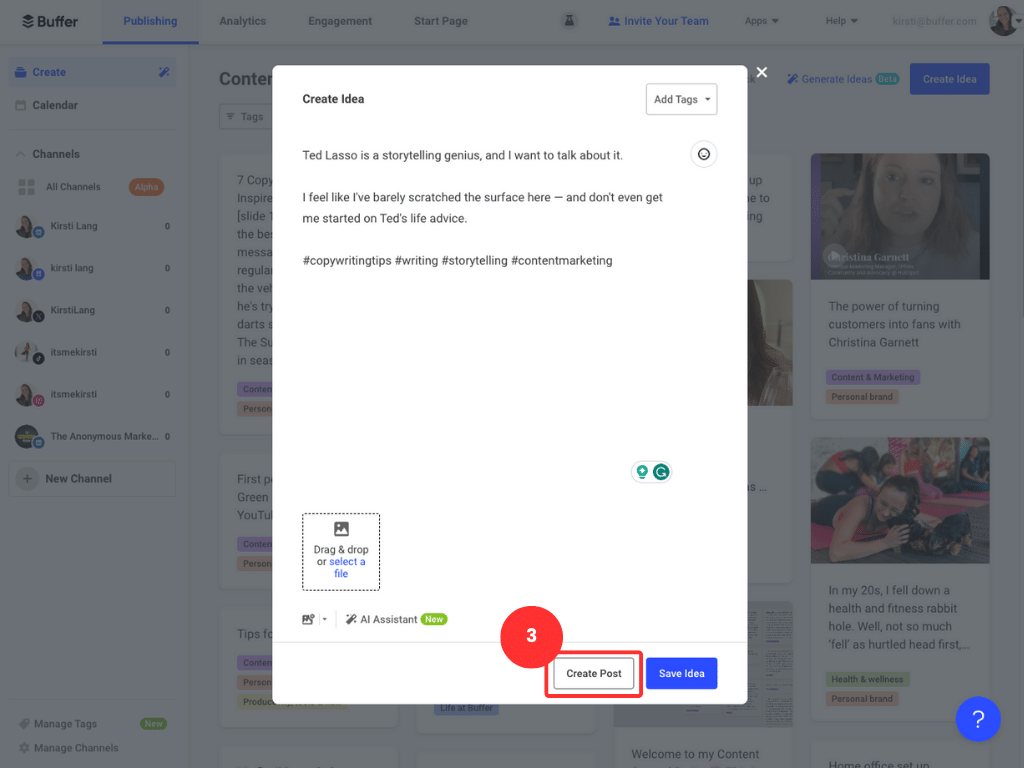
- If your LinkedIn idea is ready and waiting in Buffer’s Create space, click on the idea card and choose the Create Post button.
If you went with option two or three above, choose the LinkedIn profile or page/s you want to publish to at the top of the LinkedIn profile or page window.

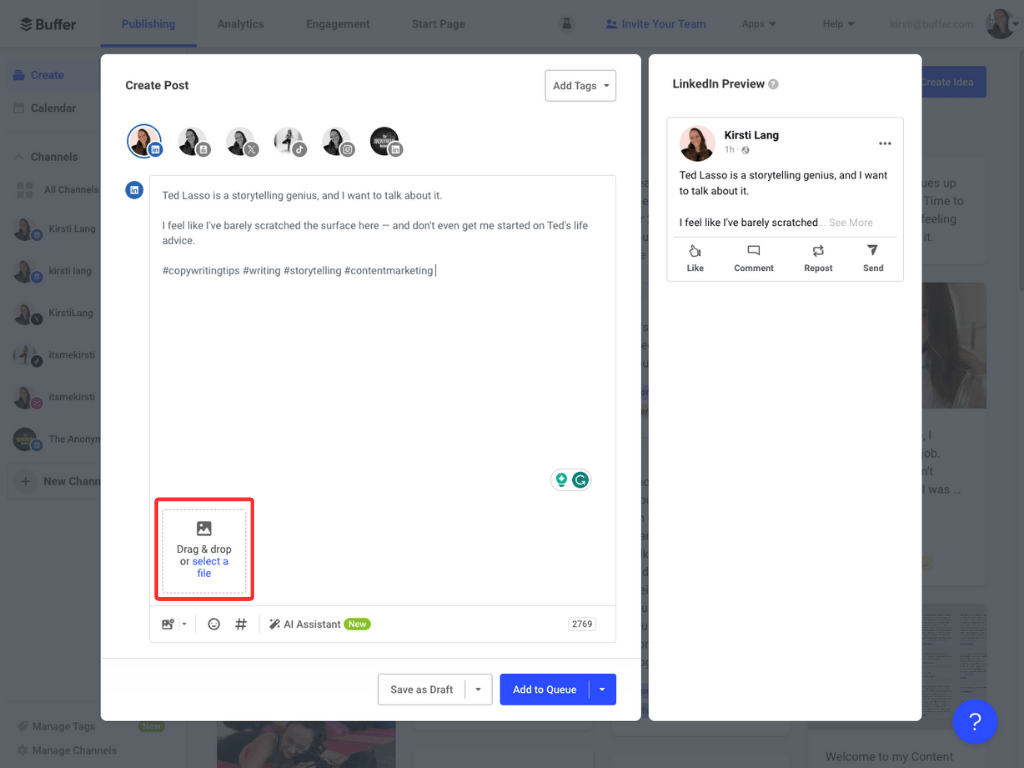
Write your post caption in the text box, click the Upload media button in the bottom left corner, and select the PDF you want to upload. (You can also drag and drop the file into this box).
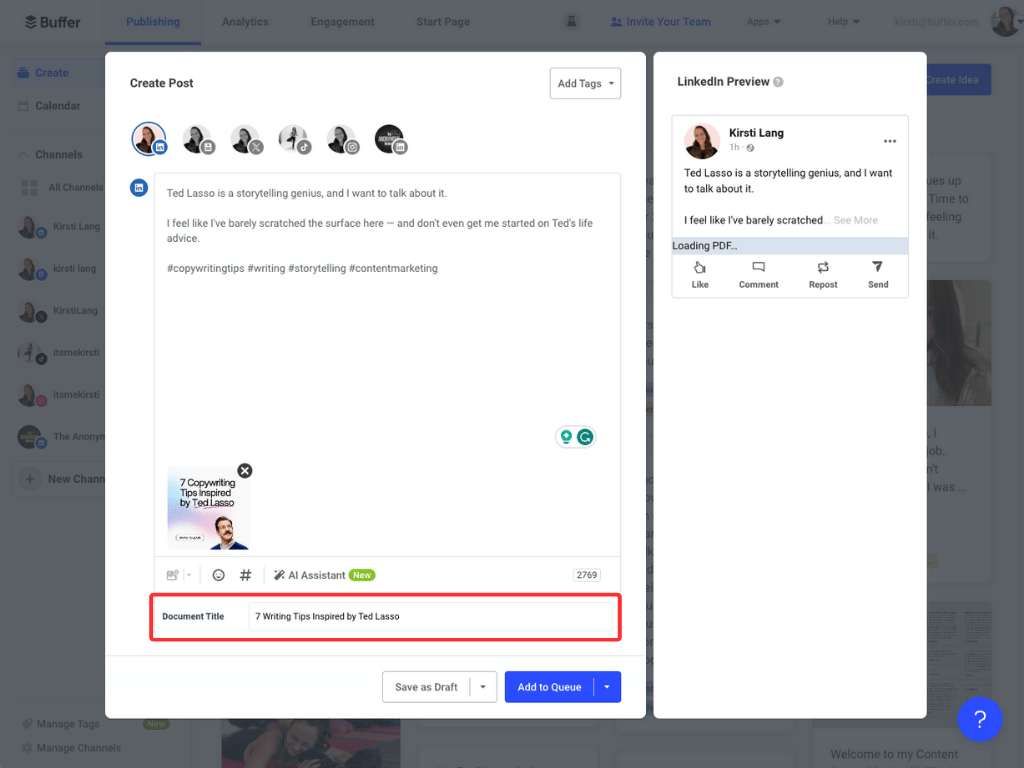
Once your PDF has been uploaded, don’t forget your document title!
When you’re happy with your post (don’t forget your hashtags — and save them in Buffer’s Hashtag Manager if you plan on using them again!), click Add to Queue, Share Now, Share Next, or Schedule.
- Add to Queue: Schedules the post for the next open slot in your Queue.
- Share Next: Schedules the post for the very next spot in your Queue, bumping any other content already in that slot to the next slot.
- Share Now: Publish right away.
- Schedule: Choose a specific time slot.
If you want to stay on top of engagement, make sure you have the Buffer mobile app (download iOS here and Android here), and turn on notifications. You’ll get an alert when the post goes live so you can hop in and start replying to comments.
Happy carousel-ing!
With that, you’re good to go! Are you scheduling document carousels with Buffer? We’d love to see them! Tag us @buffer in the caption or the comments.