There’s never a dull day for social media managers.
Due to recent changes to Twitter's API policy and pricing, Zapier’s much-loved integration with Twitter has stopped working (effective August 31, 2023).
This means you can’t create any new Zaps using the Twitter integration. Any existing Zaps using Twitter will stop working, and from October, any Zaps using the Twitter integration will be removed.
The good news is there’s an alternative that’s easy to set up and free to use.
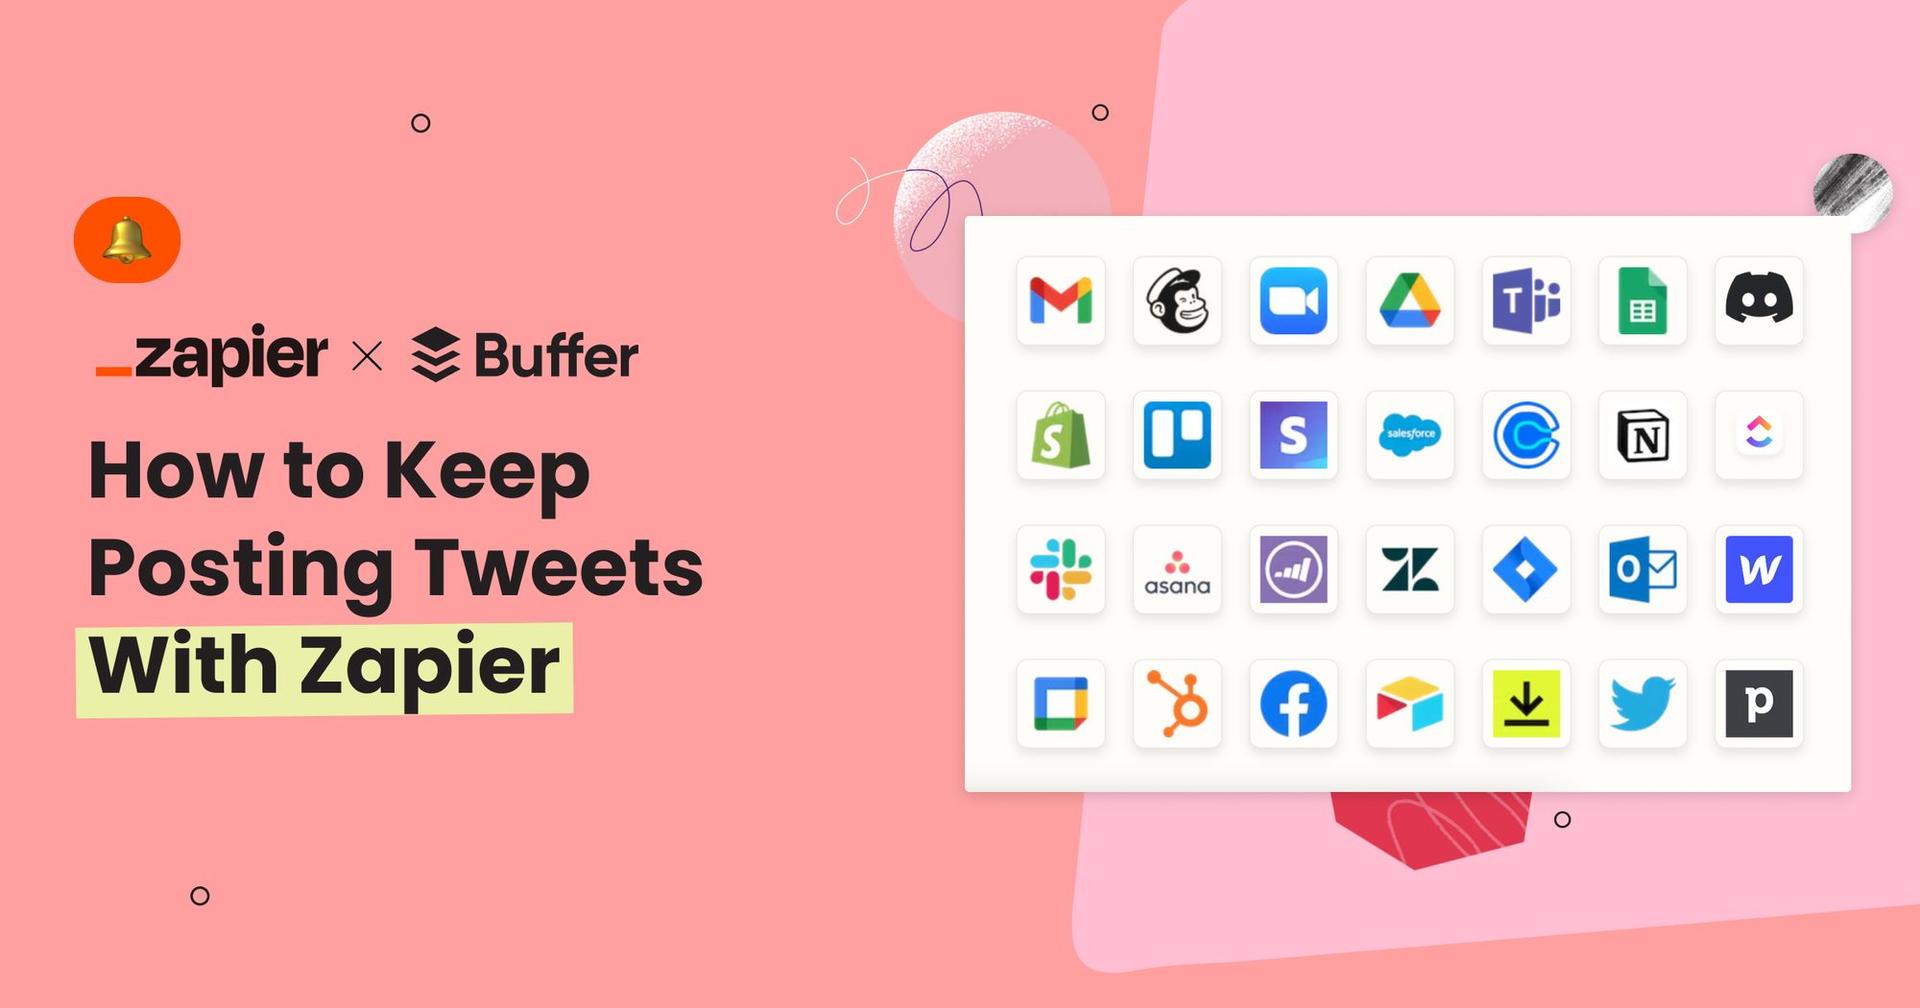
The Alternative: Buffer
While Twitter's integration is no longer active, there's no need to fret.
Zapier's powerful integration links directly with Buffer, a social media management tool that will let you post directly to Twitter (plus a whole lot more).
How to integrate Buffer with Zapier
Buffer's publishing tools are fully integrated with Zapier. Zapier is essentially the "glue" that connects Buffer with thousands of other web apps.
You're able to create workflows (known as Zaps). These workflows start with a trigger, which is an event in an app that kicks off the workflow, and end with an action, which is an event that's completed automatically in a second app.
The types of workflows you could set up using Zapier include things like sending tagged articles from Feedly to your queue, sending new WordPress posts to your queue, copying posts from your queue to a Google Sheet, and sending posts from your queue to Slack.
Here's a step-by-step guide to using Buffer with Zapier:
1) Join both platforms:
Begin by signing up for both Zapier and Buffer. You can either start with the free plans or explore premium options with a 14-day trial. Make sure to connect your Twitter account to Buffer once you’re signed up.
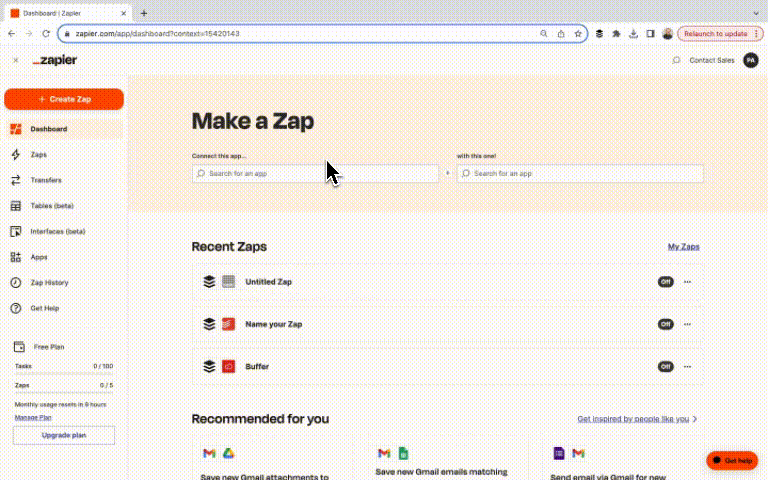
2) Initiate a Zap:
Navigate to your Zapier dashboard and click "Make a Zap." Design a workflow connecting two or more apps — for instance, you can set up a Zap where you connect your RSS Feed with Buffer. Doing so will mean you can automatically send a new tweet every time your RSS feed updates.
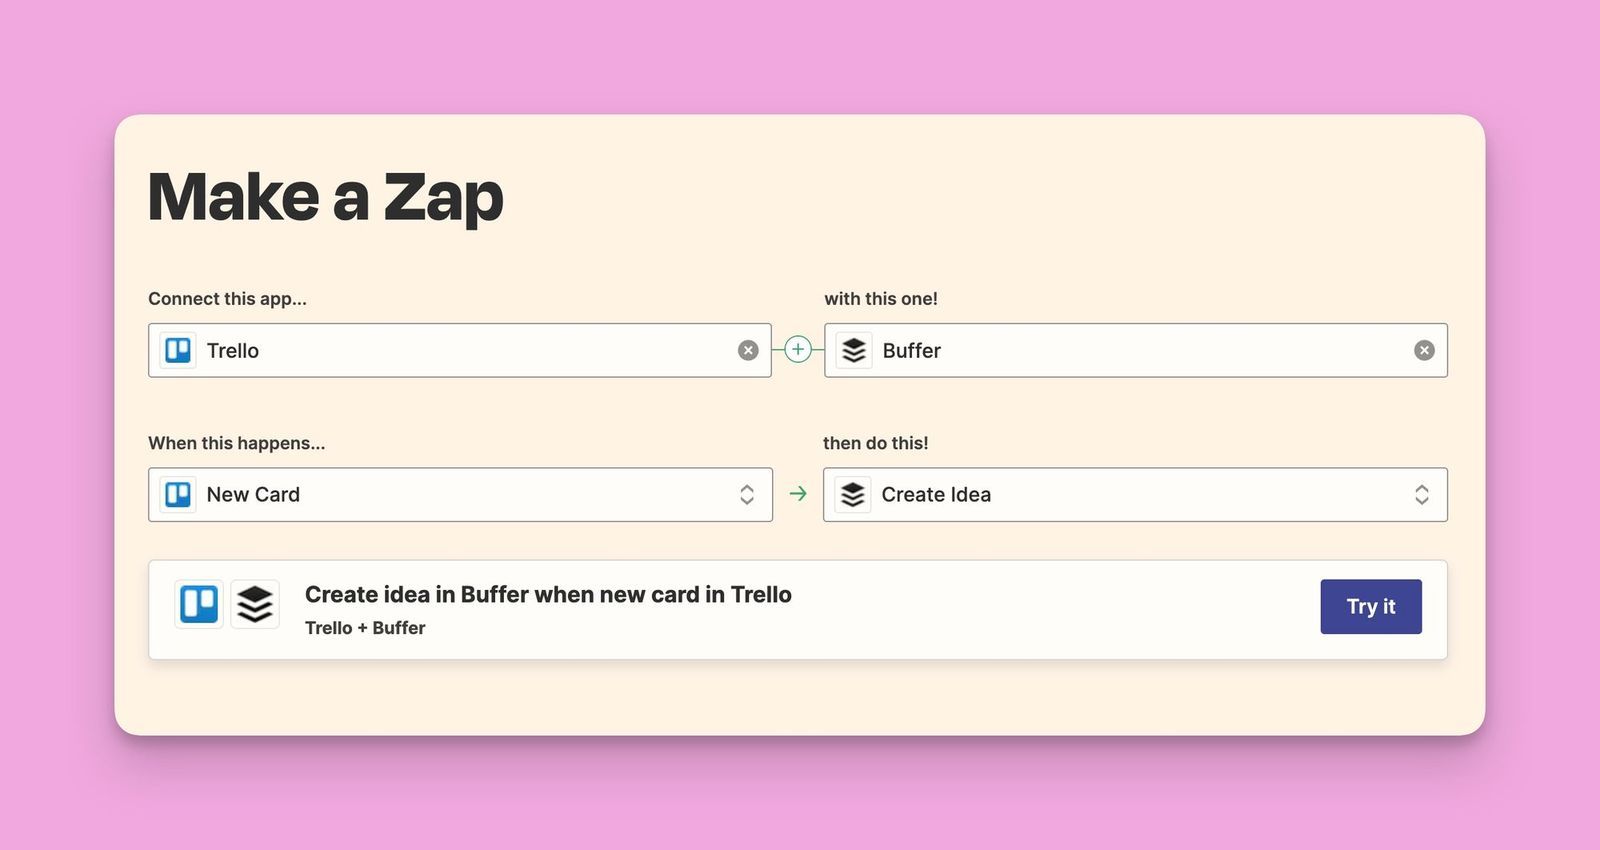
3) Select the Action:
There are three key actions you ask your Zap to take in Buffer.
- Add to Queue — your queue is the list of posts that are scheduled to post; select this option to automatically post to Twitter.
- Create Idea — not ready to publish? Save it first as an idea and schedule it to post later in Buffer.
- Pause Queue — this will stop all scheduled posts from being sent.
4) Map the data:
After connecting Zapier and Buffer, you'll need to map the data from your source to the social media profiles you want to publish it to. For example, you might map the blog post title to the social media post text and the blog post URL to the social media post URL.
5) Test and activate:
Before setting your Zap into motion, run a test. Upon confirmation that it’s working, activate your Zap.
Congratulations! You're scheduling tweets with Zapier and Buffer. Here’s more info if you need it.
More ways to use Buffer and Zapier
- Google Sheets: For spreadsheet enthusiasts, connecting Google Sheets to Buffer can transform your manual post lists into automated social media posts.
- Trello: Pair Trello with Buffer to automatically share Trello content on social platforms.
- RSS Feeds: If blogging or podcasting is your forte, utilize an RSS feed to send new content to Buffer for automating social sharing.
- Notion: Organize your life or content in Notion? Shift new database items to Buffer without a hitch.
- WordPress: Automatically send new WordPress posts directly to your Buffer queue.
- Slack: Want to keep an eye on what's publish? Send posts from your Buffer queue to Slack.
So, why not try out Buffer and Zapier today? It’s totally free.
Try Buffer for free
200,000+ creators, small businesses, and marketers use Buffer to grow their audiences every month.