If your small business isn't on Instagram yet, then you're missing out. Seventy percent of shoppers look to Instagram to discover new products and even more use the platform to build loyal communities. And with Instagram itself doing its best to support small businesses, now is the perfect time to use the social media platform to drive traffic to your brick-and-mortar shop or eCommerce website.
But before learning how to post on Instagram, let’s review the basics. Instagram posts live in one of two places: your Feed or your Stories.
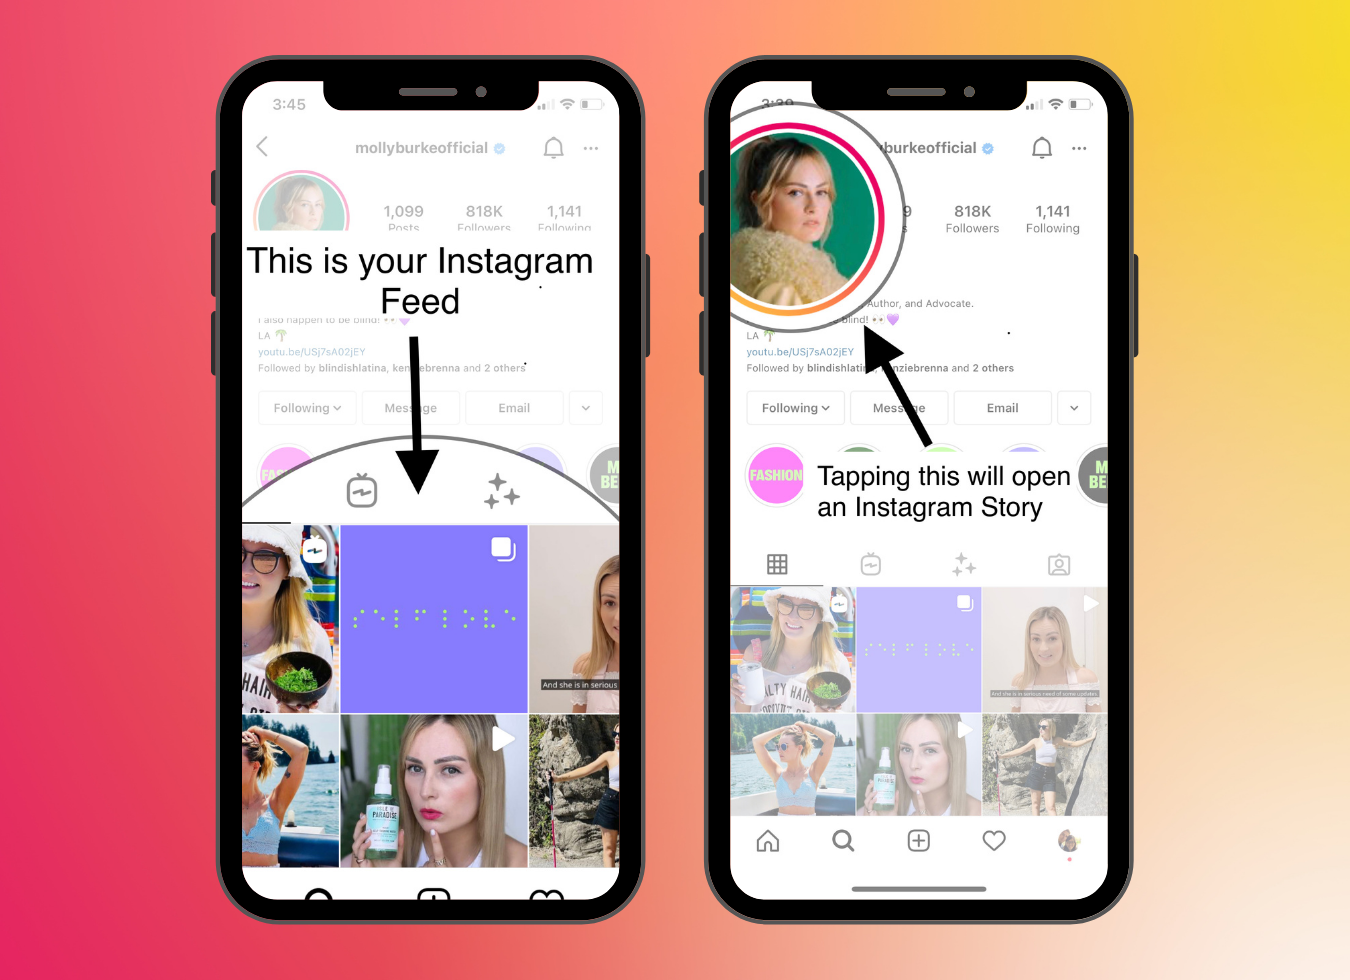
Posts housed on your Instagram feed are evergreen and stay on your account unless you decide to archive or delete them. Your Instagram Stories appear at the top of the Instagram application and disappear within 24 hours. This article will focus on the former (in-feed posts) — if you want to learn more about the latter, check out this ultimate guide to Instagram Stories.
Getting started with Instagram marketing isn't as difficult as you might think — and using Instagram can increase sales by improving customer engagement and loyalty.
(Read all the way to the end for a time-saving tip!)
Visually plan your content calendar and make your profile a "must-follow" with Buffer's suite of Instagram scheduling and analytics tools.
Step 1: Create an Instagram business profile
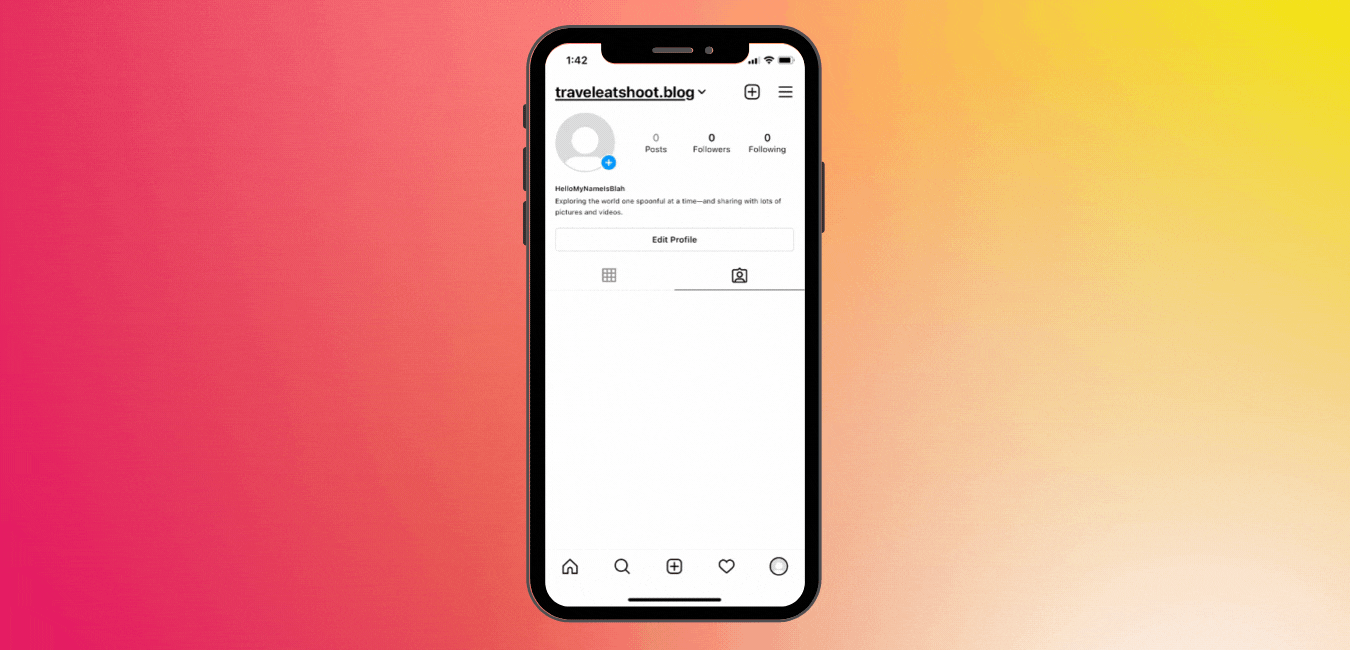
To post on Instagram, you need to create an Instagram account.
There are three kinds of Instagram accounts: personal, business, and creator. Setting up a business account for your brand gives you access to account performance analytics, audience insights, and other key pieces of information that will help you optimize your content and reach more people.
To create a business account, first create a personal account by signing up on Instagram. Then click on the hamburger menu on the top right corner of your screen to open your settings. Click on “Account,” and then select “Switch to Professional Account.”
From there, Instagram will ask you to describe your business and fill out your profile. Here’s more information on Instagram business accounts in case you want to learn more.
Step 2: Open the Instagram post creator
At the top of the screen, you'll see three symbols that, from left to right, stand for “create,” “notifications,” and “inbox,” “notifications,” and “my profile.”
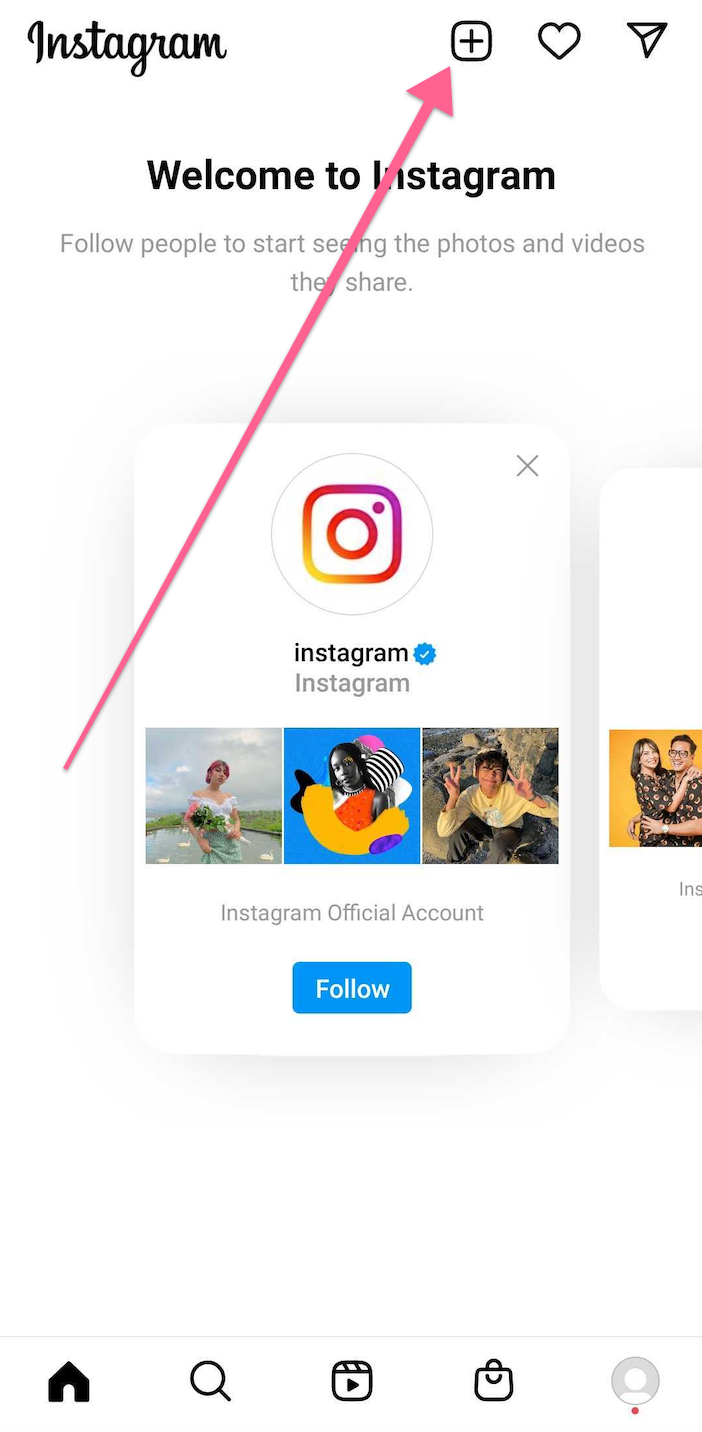
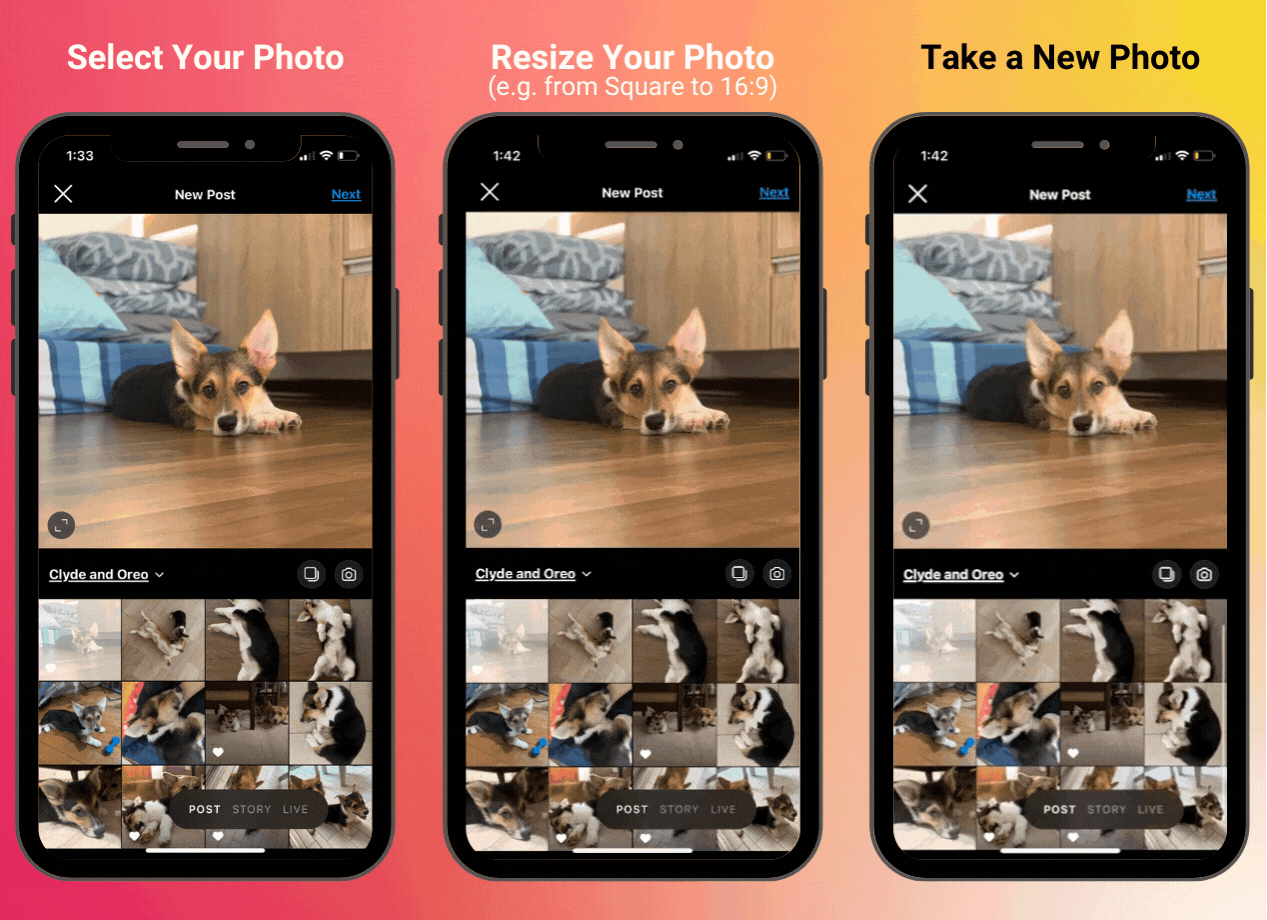
Tap the icon at the very middle that stands for “create a post” — it looks like a plus sign inside a square. That will take you to the Instagram post creator.
The top of the screen will show you a preview of your post, as it will appear in your feed. The bottom half is where you’ll find your existing photos and videos stored on your device.
Step 3: Start creating your post
Your Instagram posts tell the story of your brand through colors, photos, and videos. You can feature your employees, tell your audience about new products, share customer testimonials, and so much more through your Instagram feed.
You can create four kinds of posts on Instagram, each with different sizes and dimensions. Here’s how you can create each one and some content ideas for each post.
1. Single Photo Post
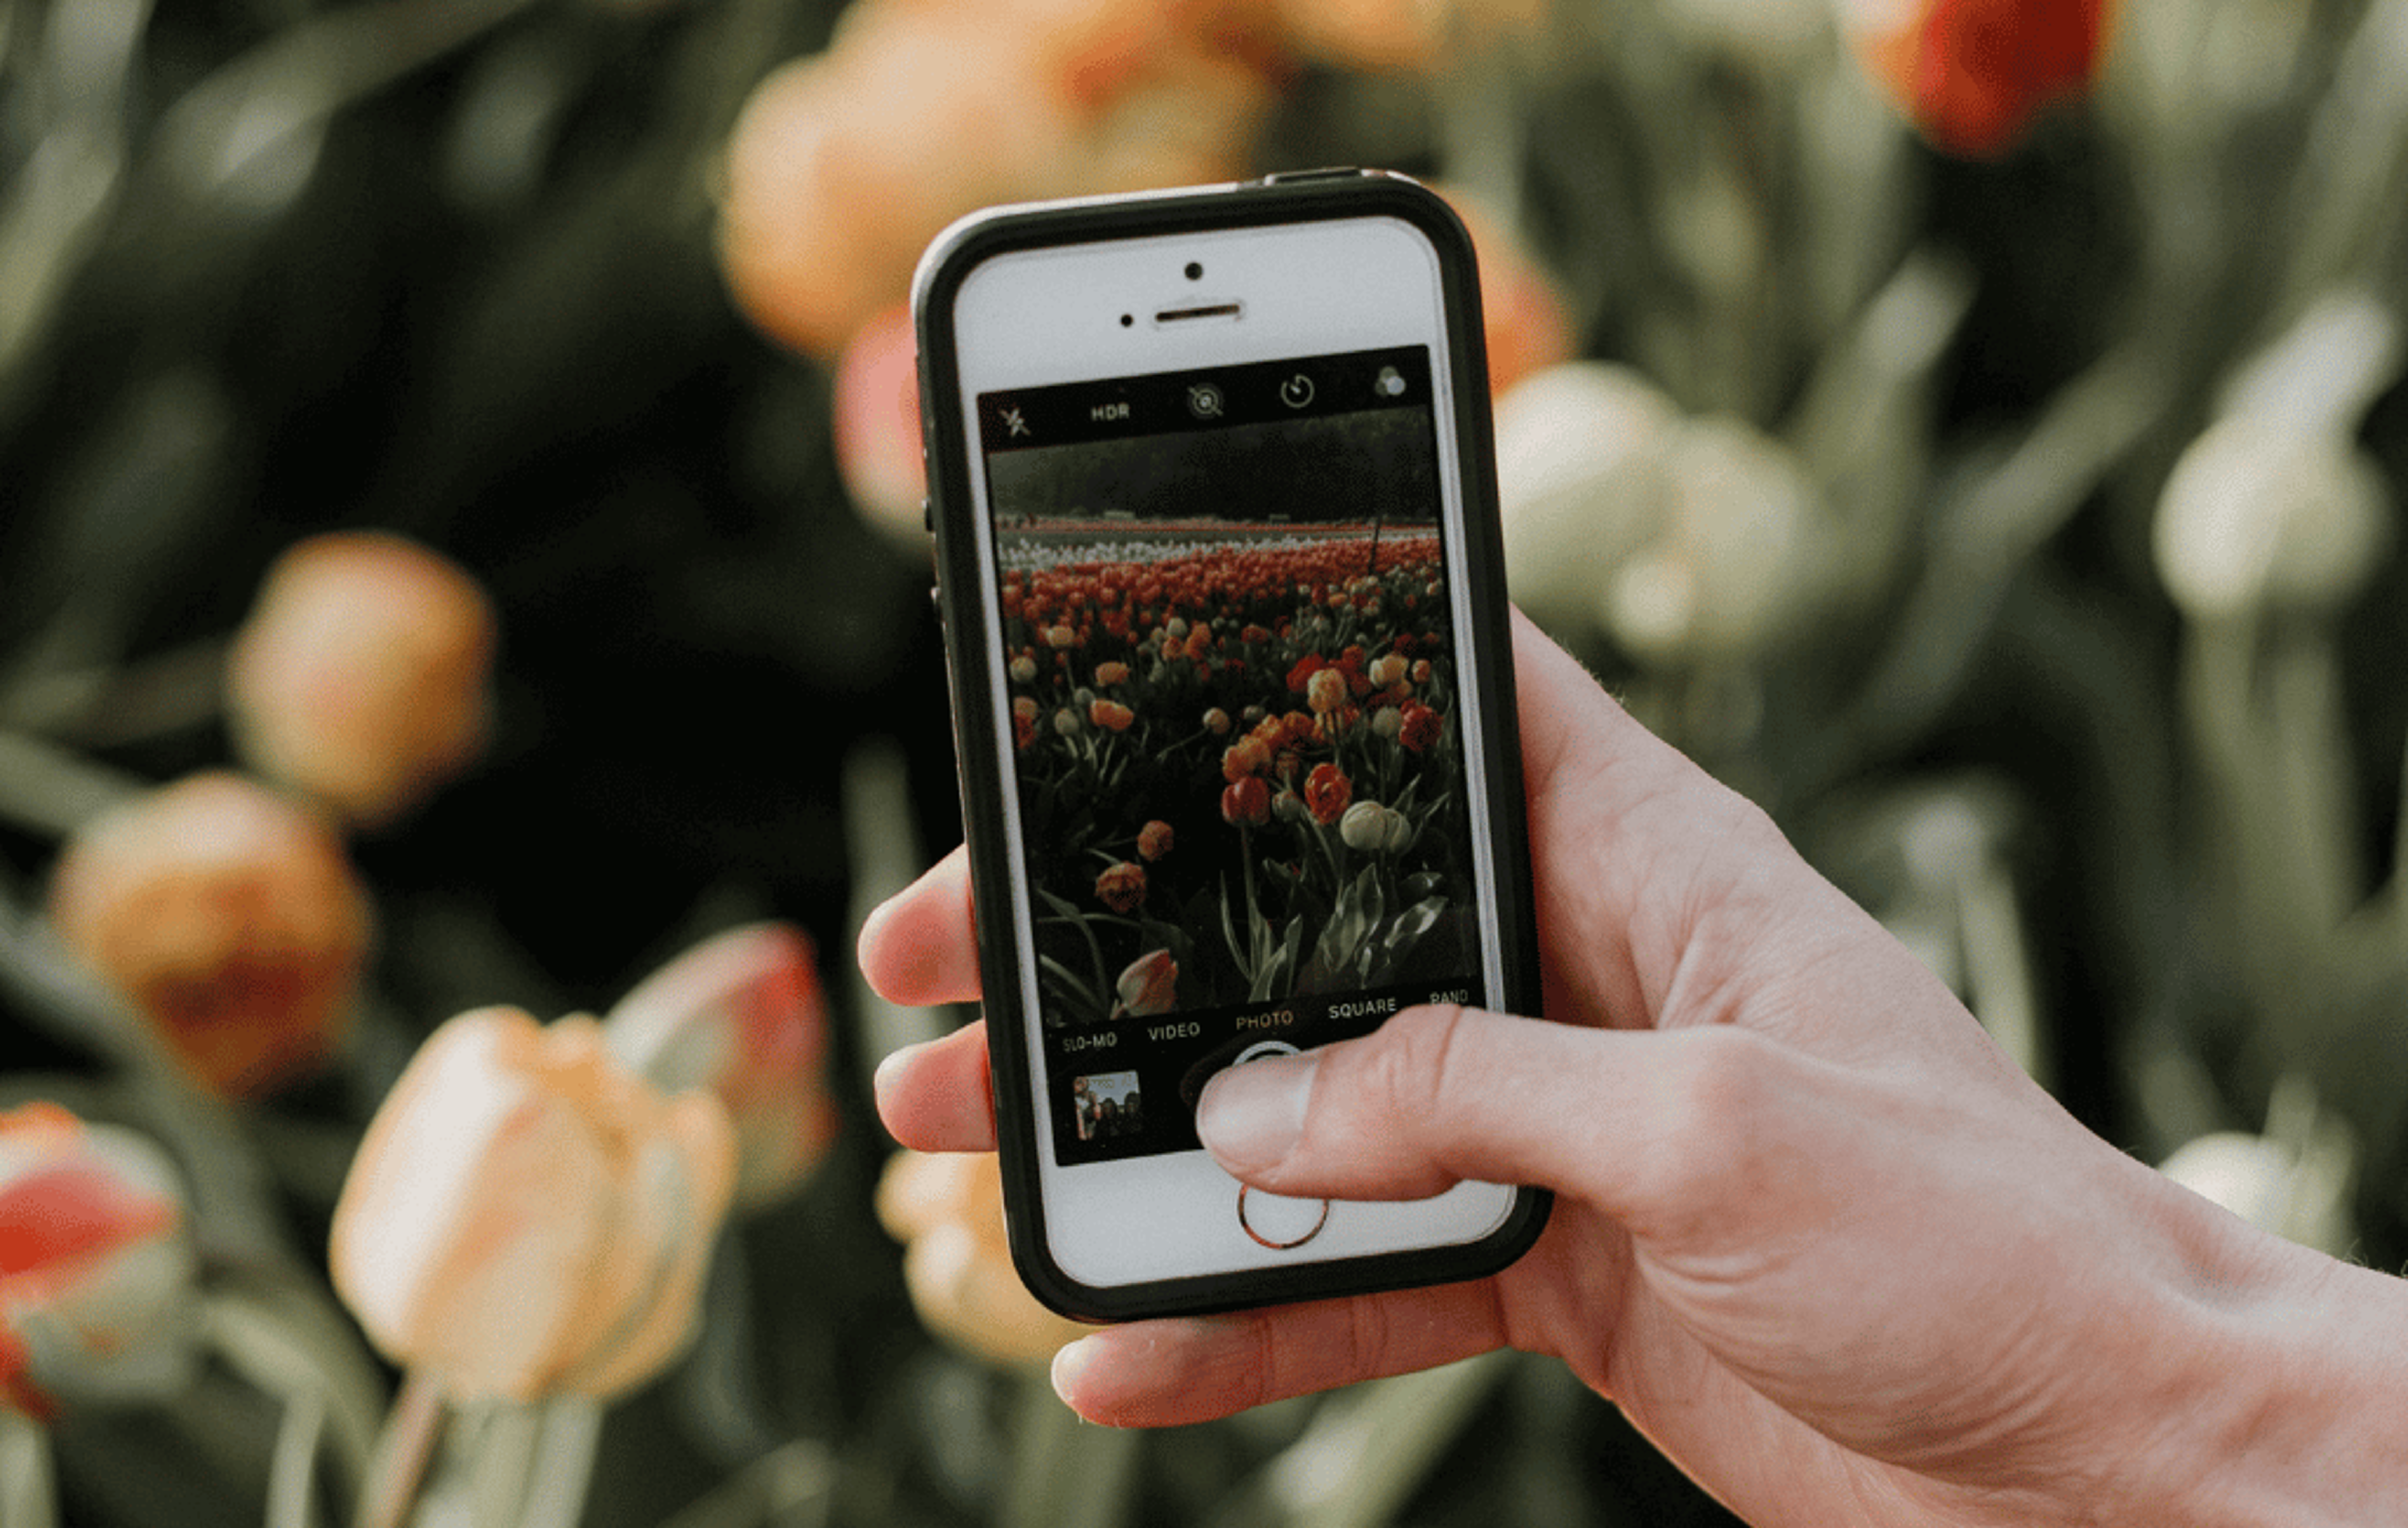
You can choose to post a single photo on your feed that is portrait, landscape, or square.
How to create: Select an existing photo from your album or take a new one and then click the “next” button at the top right corner of the post creator.
Best used for: Highlighting a single person or item, announcements, giveaways, and new product introductions.
2. In-feed Video Post
An in-feed video is less than a minute long and can also be landscape, portrait, or square.
How to create: Select an existing short video from your album or create a new one by tapping the camera button at the middle, right side of your screen. Take a video within the post creator by pressing and holding the capture button.
Best used for: Short process videos, short tutorials, announcements with animations, customer testimonials, and ads or sponsored posts.
3. The Carousel Post
A carousel post is a collection of photos and/or videos (less than a minute long) your Irfollowers can swipe through.
How to create: Select up to 10 photos and videos from your album and then hit “next” at the top right corner of your screen.
Best used for: product features, showing multiple angles of a single product, series of tips (e.g. these cool tips on website best practices), and ads.
Step 4: Edit your photo or video
After you’ve chosen or created the photos or videos you want in your Instagram post, you can edit it a little bit to change the color scheme.
Editing your photo or short video
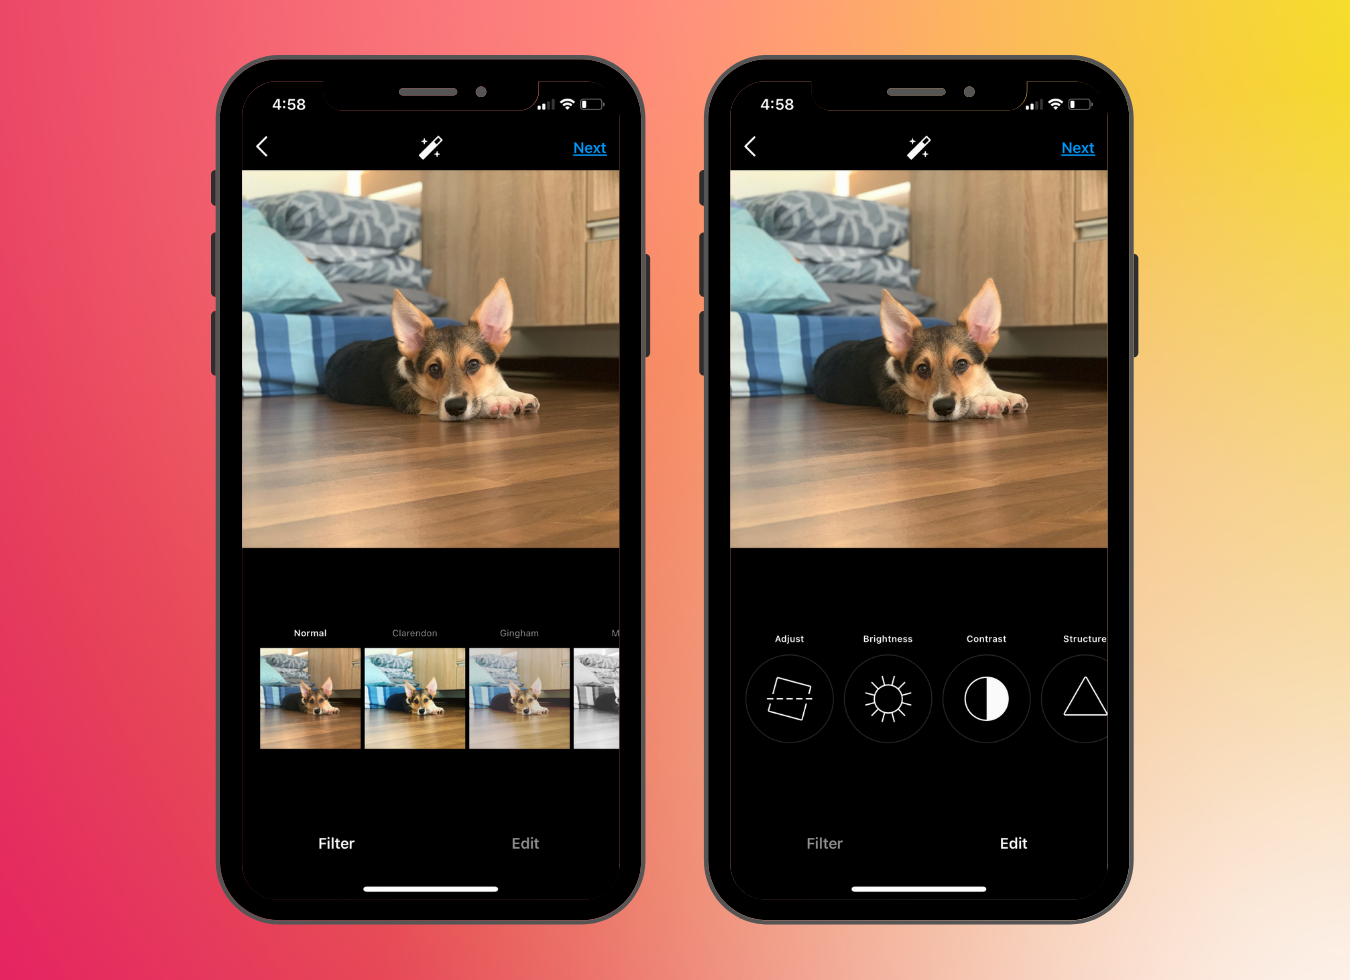
After selecting your photo or short video, you get sent to an editing portal where you can edit the colors of your photo to make them pop or make them fade a little bit.
You can either choose a filter to quickly edit your photo or manually edit each element of your photo (e.g. saturation, contrast, brightness, etc.).
Step 5: Write your caption
Your caption is the text that accompanies your photo. It can be an explanation of the post, a story related to your photo, or a teaser for a new product — it’s entirely up to you. Here are some tips:
- Start your caption with a one-line summary of what your post is going to be about. This will help your engagement because people usually only see the first 125 characters until they click “more.” For IGTVs, you have to add a title to your post in lieu of a headline.
- Mention people when you can. Mentioning people using the “@” symbol can help boost the engagement of your post.
- Use hashtags. Hashtags are like signals that tell Instagram what your post is about. They help the algorithm figure out who should see your post.
- End your caption with a call to action. Tell people what to do after they read your post; for example, “check out our link in bio for more information.”
Take note; you can't add links to your caption — the only places you can share links on Instagram are your bio (also known as the link in bio) and your Instagram Stories (if you have more than 10,000 followers).
Step 6: Tag other accounts in your photos
You can tag people directly in your photos, so they get notified when you publish your post. Click on the “tag people” button underneath the caption to start telling Instagram who is in your photo.
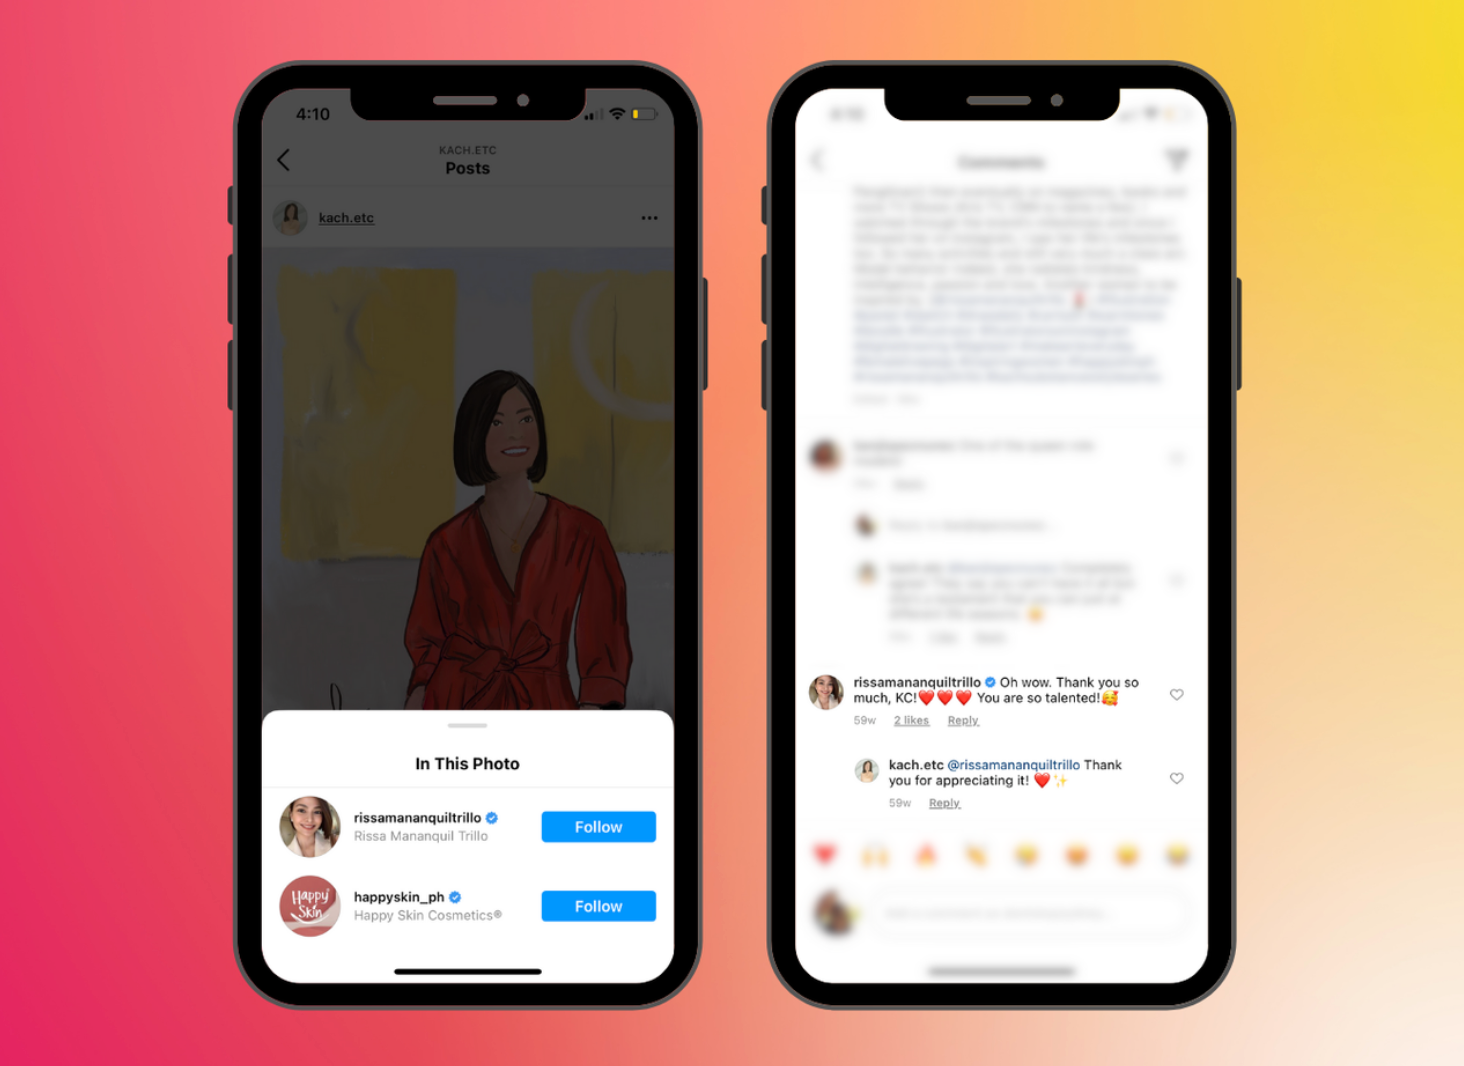
@kach.etc tags local influencers in digital art pieces of them to increase the visibility and engagement on her posts.
Letting people know they are in your post can increase your post engagement because they are more likely to like, comment on, and share a post if they are in it.
Step 7: Set your location
Setting a location will help you get on the discover feed of people near you. While telling people your location is optional, it is especially important if you do business locally, as Instagram’s algorithm factors in location when they gauge the relevance of your post.
Tell people where you are by clicking the “add location” button underneath the “tag photo” button and typing in your address.
Step 8: Choose which accounts and platforms you'd like to post to
If you're signed in to more than one account on your device, you can choose to publish your post across all those accounts. You can also choose to publish your post on Instagram, Facebook, and/or Tumblr.
Below the “set location” button, you will have a list of other accounts you can also publish to. Click on the toggles on the right side of your screen to publish your post to the right accounts.
Step 9: Hit share
And you're done—you now know how to post on Instagram! All you have to do is hit the “share” button on the top right corner of your screen.
Bonus: Schedule your photos to save time and reach more people
Social media management doesn't have to be time-consuming and costly. Scheduling your posts saves you time by letting you plan a whole month of content in a day or two. It also increases your reach by helping you stay consistent and post at times when most of your audience is online.
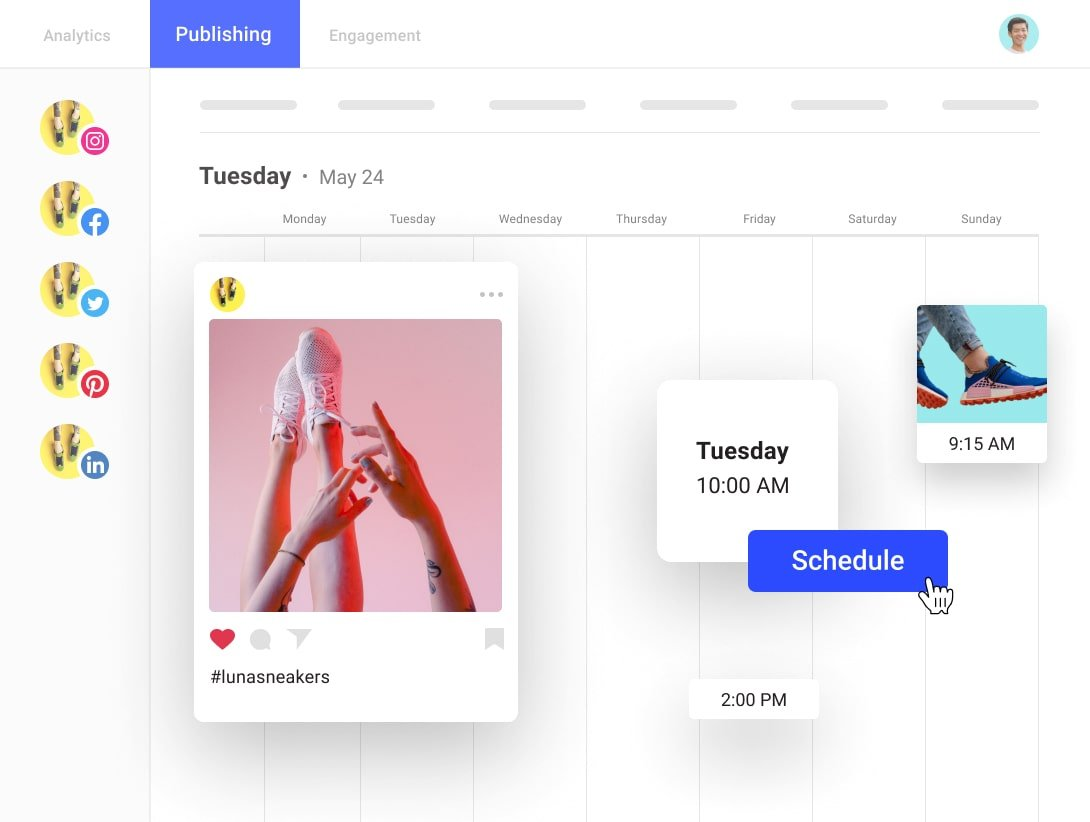
Buffer for Instagram lets you easily create your posts — from photos to caption — on both your desktop and mobile device. Here’s how you can do it:
- Connect your Instagram account to Buffer.
- Go to Buffer’s “Publish” tab and go to “Queue.”
- Select the date and time you want to schedule your post for (Buffer’s algorithm determines the best times to post for maximum reach).
- Add your photo, caption, hashtags, and location to your post within Buffer’s post creation window.
- Click “Schedule Post,” and you’re done!
For landscape and portrait photos and carousel posts, you can set reminders and publish with a single click when it's time to publish.
Check out Buffer’s Publishing Tool to make the most out of your Instagram account.